I LOVE making things. Simple sewing projects have been a long time favorite of mine since learning to sew a few years ago.
Being a super busy mom of four girls and having a my own photography business doesn’t leave me with a whole lot of time, which never really holds me back too much from having at least a few creative crafty and sewing projects going on at all times.
I have learned to work on things in 10 minute increments here and there.. or better yet, come up with quick and easy projects. Instant gratification is my middle name.
Yesterday I posted a couple of instagram (@sarahecosta if you wanna follow me) photos I took of the twins wearing I whipped up for the twins after my eyes and brain needed a break from editing. I had several friends, clients and facebook fans ask me about making them…. So this morning I picked out a couple of my favorite fabrics in my stash and went to work on a little tutorial for you. (I am a textile addict.. my stash is pretty impressive I will have to share some photos of that one of these days) …
* These skirts are made to fit my girls who are almost 5 years old. I think this pattern would fit most little girls from 3-6 or so. I literally made both of these including taking the photos and exporting them in less than a hour.
You will need:
1/2 yard of super cute fabric
coordinating thread
1/2 yard + of 1 inch wide elastic (measure it around your little ones waist)
big safety pin
sewing machine, cutting and measuring tools
basic sewing skills
Start with 1/2 yard (or two for twins) of your fabirc fabric and matching thread.
.jpg)
(18by44 inches)


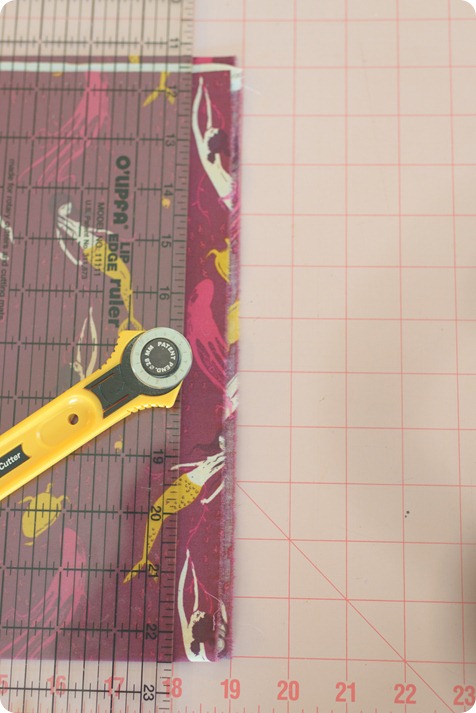
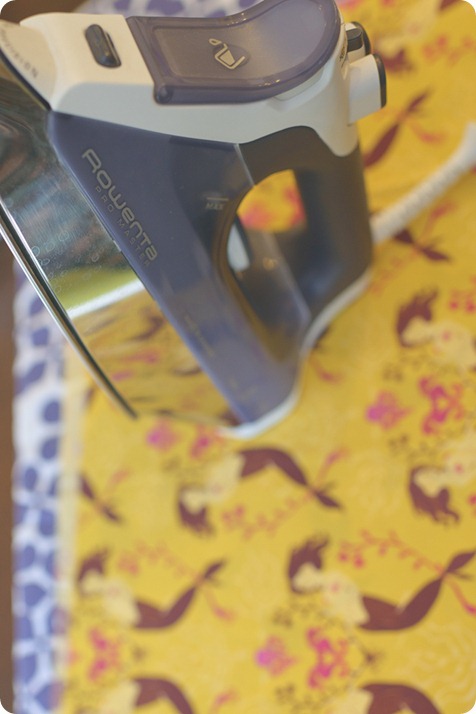
Trim up any access and selvage, then iron


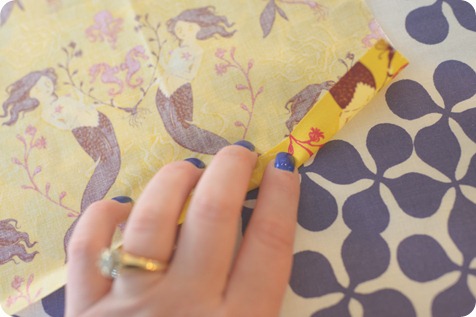
Make a rolled hem on the bottom of the skirt. I don’t measure, just eyeball half an inch or so and iron, then fold it over again leaving a nice clean edge with no frays. Sew the hem 1/4 inch or just use your sewing machine foot as a guide.

.jpg)
Once you have your bottom hem done put the two wrong sides together. Stitch up the side of the skirt. This will look wrong but will end up giving you a nice finished edge enclosing the hem. 
 Flip your skirt inside out and stitch with the right sides together now. Your hem should look some thing like this now.
 .jpg)
Fold the hem to one side and topstitch down the right side. This will make everything lay nice and flat. .jpg)
(if you have any problems with this step google french seam… its really easier than it sounds)
.jpg)
Turn the skirt inside out with right sides facing each other. Fold the fabric 1/4 inch and fold, just like you did on the bottom hem, then again about one inch to make room for the elastic.
.jpg)
topstitch around the skirt leaving about 2 or 3 inches open in the back to get your elastic in.

 Now use the big safety pin attached to the elastic to help feed it though the opening. Once you get to the end sew the two sides of elastic together. Sew the opening closed in the back of the skirt.
.jpg)
That’s it! Super easy and fun. You can make skirts for all seasons and special occasions. **hint hint… they would be adorable for our next session together ![]()
Hope you enjoy and have lots of fun making these simple skirts. Once you get this down you can start pintresting all kinds of great free skirt patterns. I have had my eye on a few twirly and ruffled skirts I need to get started on for summer.
